Platform teams
Self-hosted install guide
The self-hosted edition runs BucketDesk on a server inside your network. It accepts no traffic from the internet. Its outbound connections are HTTPS requests to AWS in your own account, your own mail server, and the public image registry when you update. It sends nothing to BucketDesk: licences are validated on your server. Your files stay in your S3 buckets.
There are two ways to install it. Both run the same release and use the same licence. The self-hosted page has pricing.
Choose a path#
| Item | On AWS | On your own servers |
|---|---|---|
| How | One CloudFormation stack launches an EC2 instance from the BucketDesk image. | Docker Compose files from the install kit. |
| Compute | A t4g.large instance (arm64, 8 GB) with a 40 GB encrypted disk, created by the stack. | A Linux server with Docker and Docker Compose, 2 vCPU and 4 GB of memory; 8 GB with office previews. |
| AWS identity | The instance’s own role. No key file. | An access key limited to assuming BucketDesk’s roles, written by a small stack. |
| Secrets and settings | Written by the instance on first boot. | You fill in .env. |
| Office previews | Off until you add a second DNS name and certificate. | On, with the two DNS names you provide. |
| Jobs (unzip, zip, convert) | AWS Batch in your account. | On the server by default. |
What you need#
- Outbound HTTPS from the server to AWS. A proxy, VPN, Direct Connect or VPC endpoints all work.
- Two DNS names on your network, one for the app and one for office previews, with certificates your staff’s browsers trust.
- A mail server (SMTP) for invitations, password resets and sign-in codes.
- A licence key from your account on app.bucketdesk.com, under Settings → Self-hosted, by the end of the first 30 days. Every feature runs until then with no key. See Licence.
Install on AWS#
- Open the Launch Stack link in the AWS account and Region you want to run in.
- Fill in the parameters below and create the stack.
- When the stack finishes, open its
AppUrloutput from inside the network range you allowed. Accept the self-signed certificate once. - Create the first account. That account owns the install; after it, only invited people can sign up.
- Under Connections, choose guided setup to connect your first bucket.
| Parameter | What to enter |
|---|---|
| VPC | The VPC the instance runs in. |
| Subnet | A subnet in that VPC with a route to AWS services: a NAT gateway, VPC endpoints or an internet gateway. A private subnet is fine. |
| Who may open the app (CIDR) | The network range allowed to reach the app on port 443, such as your VPC range or office VPN range, for example 10.0.0.0/16. |
| Instance type | Leave as t4g.large. |
| BucketDesk AMI | Leave as the default, which is the current release. |
The stack creates the instance, its role, and a security group that admits HTTPS only from the range you named. Its outputs are AppUrl, InstanceId and PrincipalArn.
After the first sign-in
- Shell. Use Systems Manager Session Manager on the instance ID from the stack outputs. No port other than 443 is open. The install lives in
/opt/bucketdesk. - Mail. Mail is logged, not sent, until you put your SMTP settings in
/opt/bucketdesk/.envand start the stack again with the command below. - Office previews. Give the instance a second DNS name and a trusted certificate, put the certificates in
certs/, setOFFICE_PREVIEW_ENABLED=trueandOFFICE_DOMAIN, and start it withcompose.yamlalone.
docker compose -f compose.yaml -f ec2/compose.ec2.yaml up -dInstall on your own servers#
Download the install kit and unzip it on the server. It holds the Compose files, the AWS access template and this guide.
1. AWS access
In the AWS console for the account that holds your buckets, create a stack from aws-access.yaml. Run its CredentialsFileCommand output in the kit folder. It writes aws/credentials for the app and aws/jobs/credentials for the job containers. Keep its PrincipalArn output for the next step.
2. Settings
Copy .env.example to .env and fill in every value marked “fill in”.
| Setting | Value |
|---|---|
APP_DOMAIN, APP_URL | The address staff open on your network. |
APP_KEY | Generate it with the command below. |
DB_PASSWORD | A long random password. |
MAIL_HOST and the other MAIL_ values | Your SMTP server and the from address. |
AWS_DEFAULT_REGION | The Region your buckets are in. |
AWS_CUSTOMER_ACCESS_PRINCIPAL_ARN | The stack’s PrincipalArn output. |
OFFICE_DOMAIN, ONLYOFFICE_URL | The second DNS name, for office previews. |
ONLYOFFICE_JWT_SECRET | A long random secret. |
docker compose run --rm --no-deps web php artisan key:generate --show3. Certificates
Put app.pem, app-key.pem, office.pem and office-key.pem in certs/.
4. Start
The images are pulled from BucketDesk’s public registry.
docker compose up -d5. First sign-in
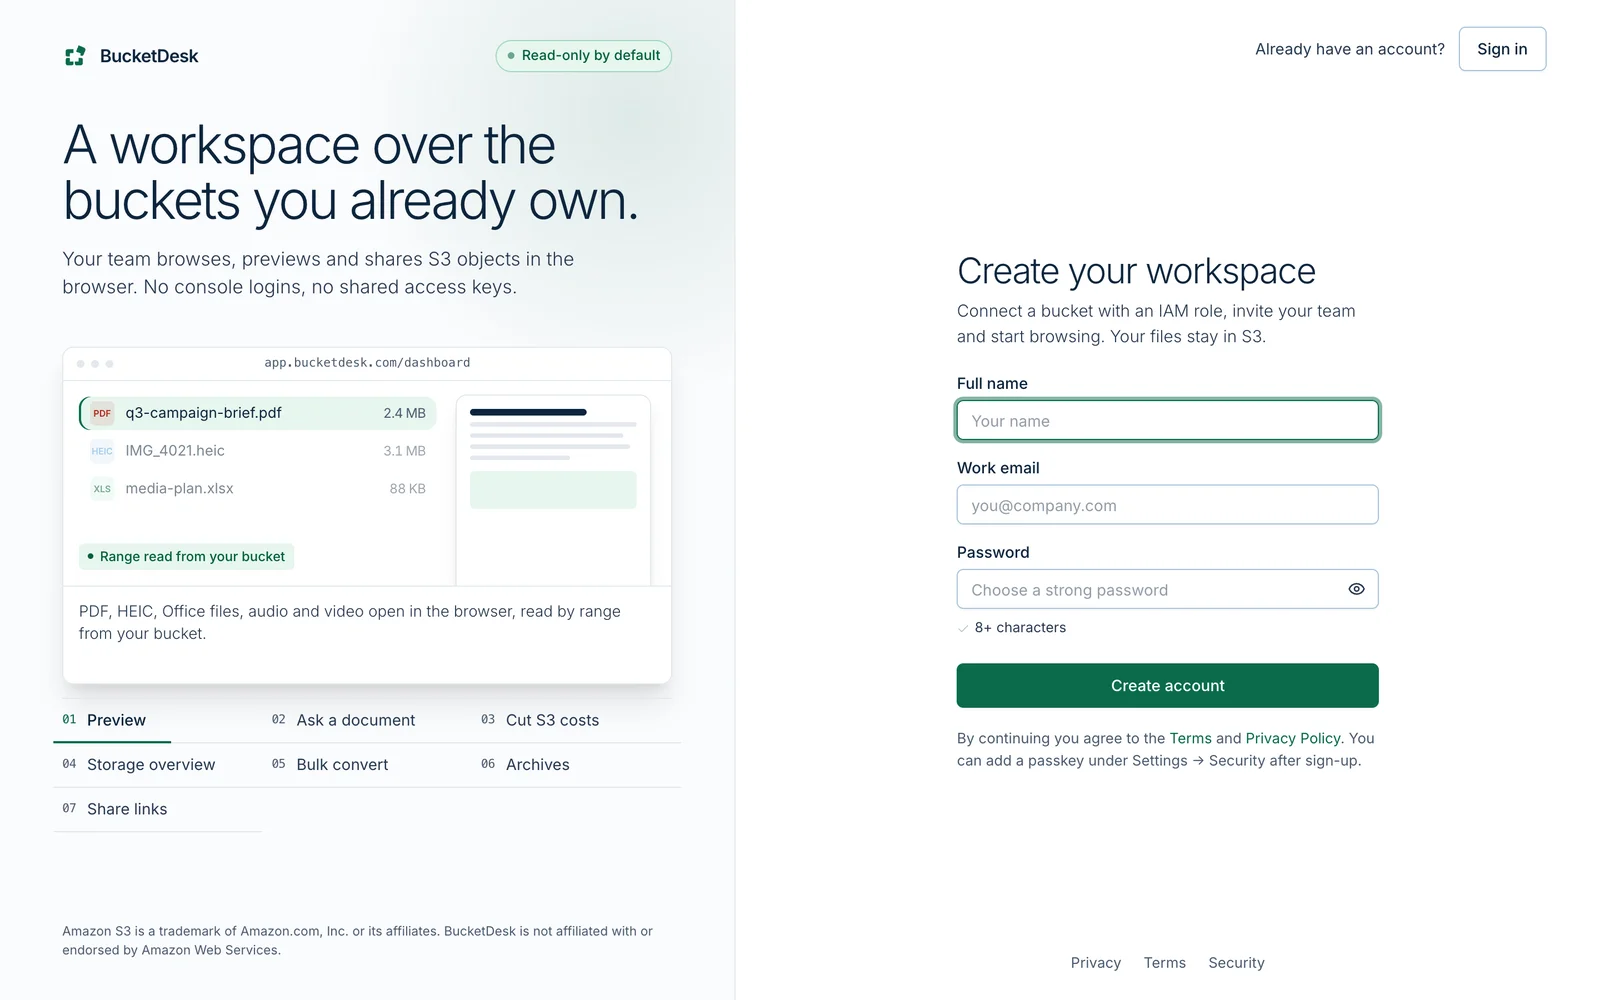
Open the app address and create the first account. That account owns the install. After it, only people that account invites can sign up.
6. Connect buckets
Under Connections, choose guided setup. The CloudFormation link opens in your own AWS console and creates the roles BucketDesk uses for each bucket, as described in Connect your AWS account.
Licence#
Your licence sets the plan and the number of operators. It is checked on your server, which never contacts BucketDesk.
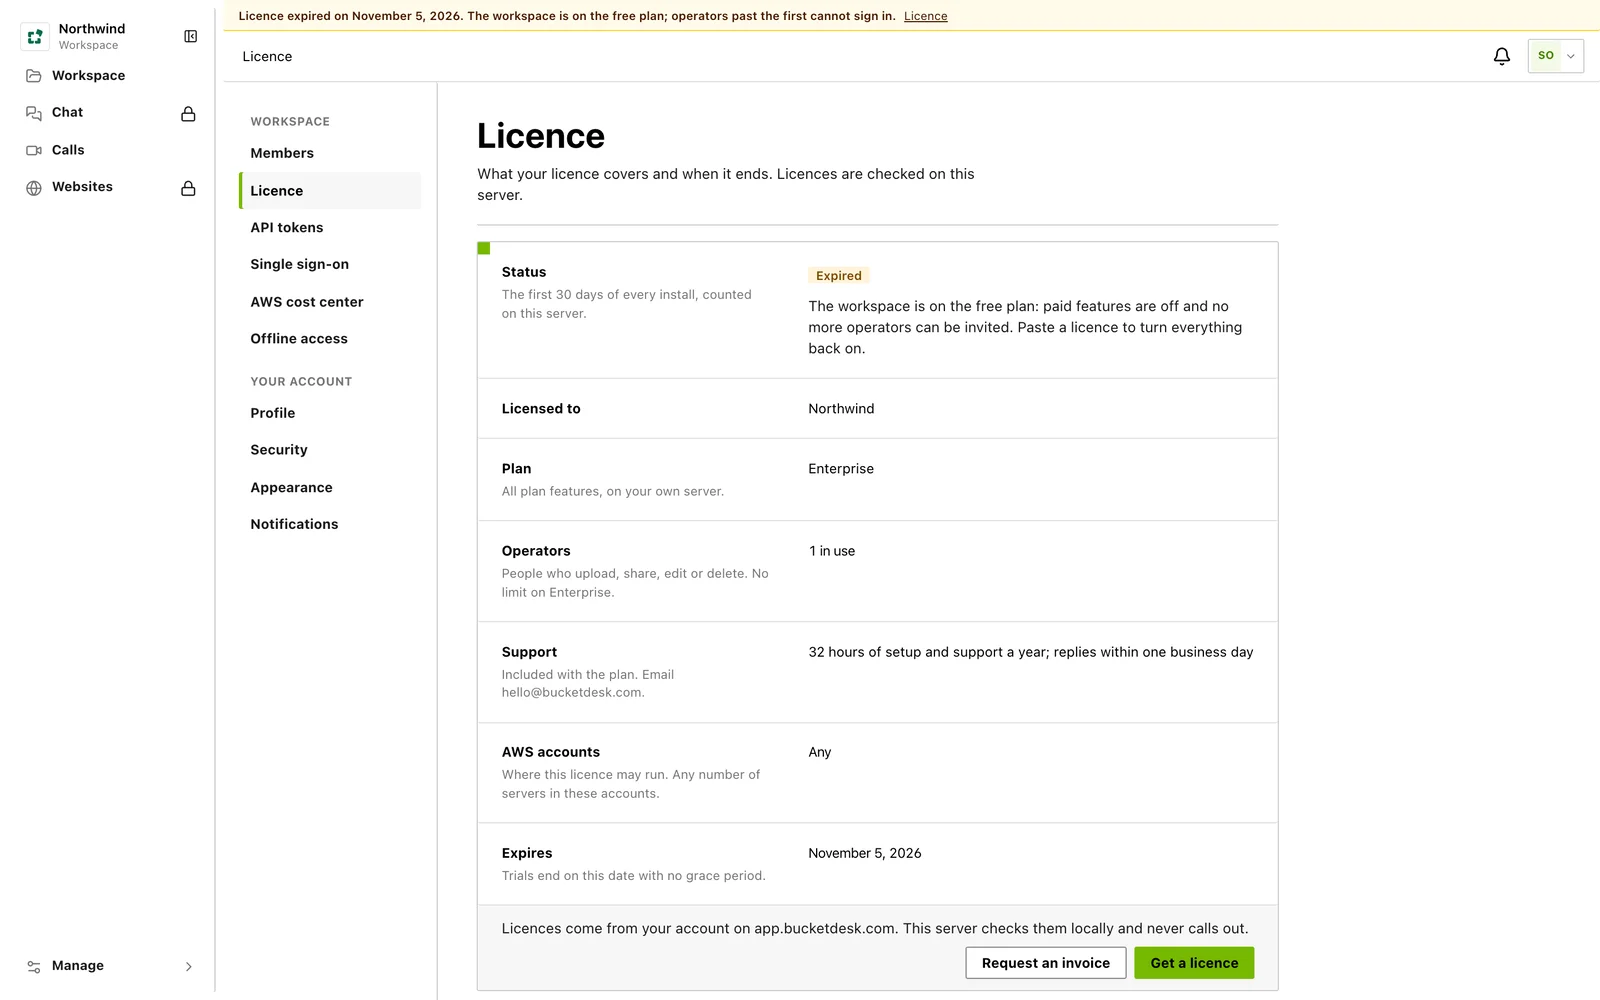
- Keys come from your account on app.bucketdesk.com, under Settings → Self-hosted. The key is shown there and emailed to you.
- A new install runs every feature for its first 30 days, with no key and no card.
- An Ultra licence is one year for $3,500 with 10 operators and $250 for each extra operator, with 8 hours of setup and support. An Enterprise licence is one year for $13,500 with no limit on operators and 32 hours of setup and support. Both include single sign-on. Buy by card, or ask for an invoice at info@bucketdesk.com.
- The owner pastes the key under Settings → Licence. It applies at once and nothing restarts.
- A paid licence names your AWS account IDs or your AWS Organization ID. It works on any number of servers in those accounts and nowhere else.
After a paid licence expires, everything keeps working for 30 days. After that the install falls back to the free plan until a renewed licence is pasted. The owner is emailed 30, 7 and 1 days before expiry and when the grace period ends. The first 30 days of a new install have no grace period; the owner is emailed a week and a day before they end.
Optional settings#
| Setting | Default | What it does |
|---|---|---|
SELF_HOSTED_LICENCE | Empty | A licence key to load at first start. It is read only until a licence has been saved under Settings → Licence. |
OFFLINE_CACHE_GB | 50 | Disk, in GB, kept for opening files when the internet is down. 0 turns offline access off. |
OFFLINE_FILE_PINS_GB | 2 | GB of single files each member may keep offline. |
LOG_DAILY_DAYS | 14 | How many days of logs are kept. |
ARCHIVE_RUNNER, COMPOSE_PROFILES | local, local-jobs | Run unzip, zip and convert jobs on this server. Remove both lines to run them in AWS Batch. |
Where jobs run#
Archive inspection, extraction, folder zips and bulk convert run on the server by default, in the archive-worker and convert-worker containers. They read and write your buckets directly, through a role each connection’s stack creates, and sign in with their own key in aws/jobs/credentials, which can assume that role and nothing else. A conversion uses one CPU per file at a time, so give the server more CPU if your team converts often.
To run jobs in AWS Batch in your account instead, remove ARCHIVE_RUNNER and COMPOSE_PROFILES from .env and run the command below. The AWS install does this by default.
docker compose up -d --remove-orphansOffline access#
When the office loses its internet connection, people on the office network keep opening the files the server has saved.
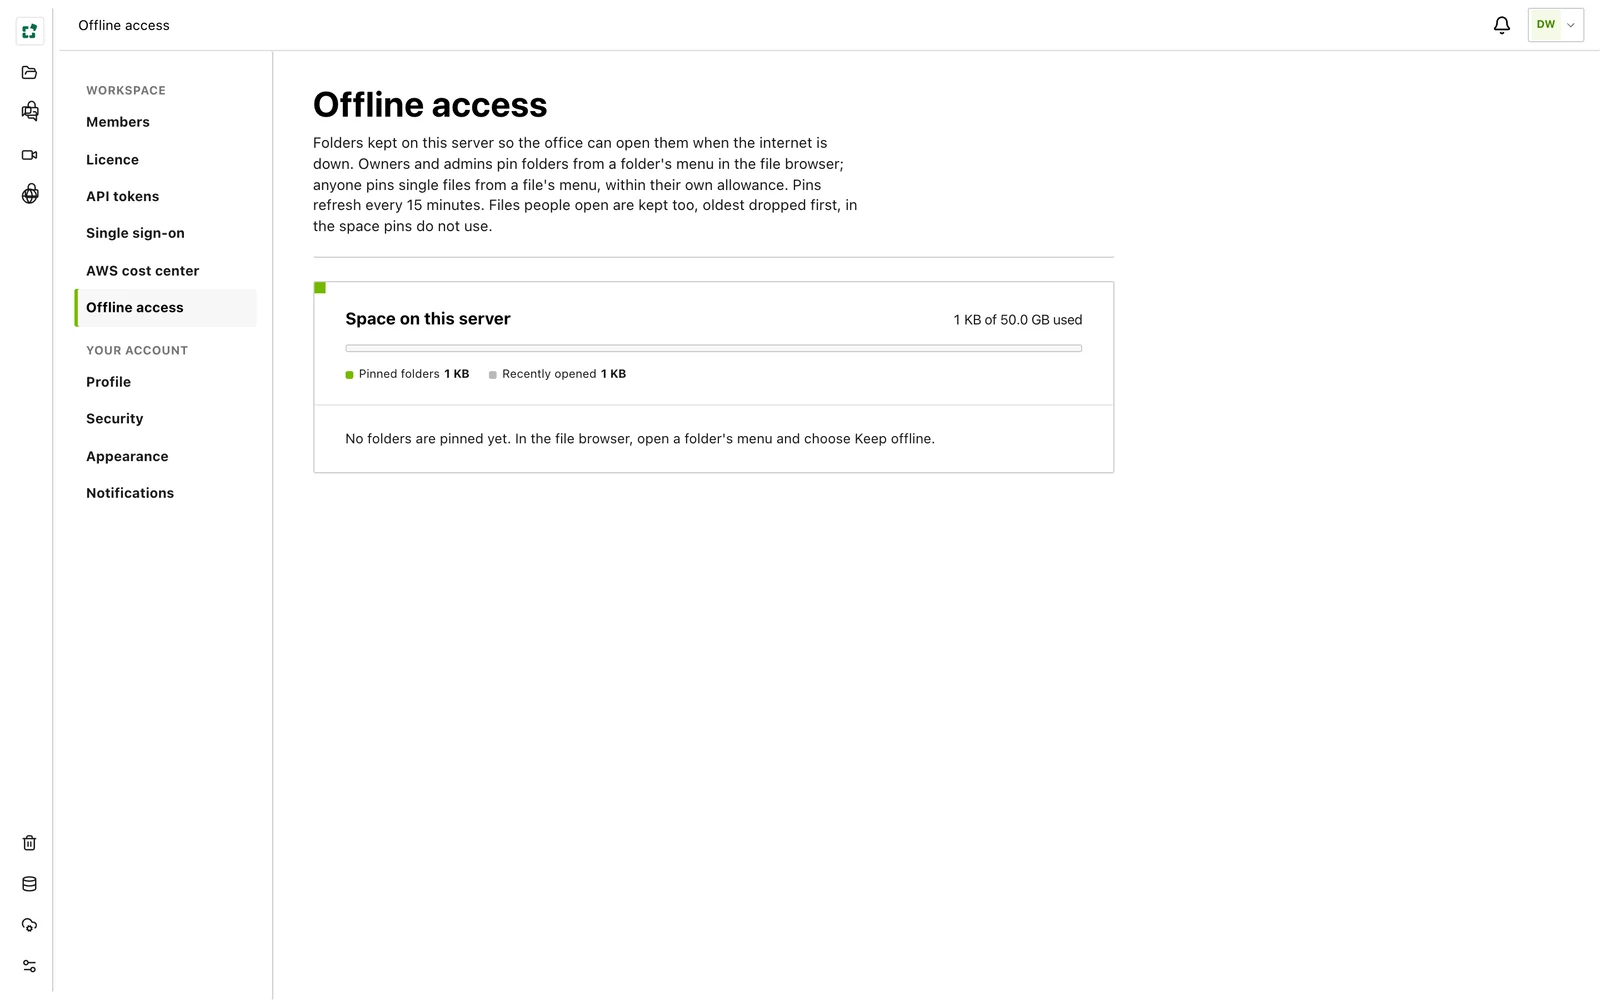
- Owners and admins pin folders with Keep offline in a folder’s menu. Any member can pin single files the same way. Pins are refreshed every 15 minutes.
- Files anyone opens are kept too, oldest dropped first, in the space pins do not use.
- Settings → Offline access shows what is kept.
- While offline, folders show as they were at the last refresh, saved files open and download, and new uploads wait on the server and go to S3 when the connection is back. Rename, move, delete, sharing and document chat wait for the connection.
CarefulSaved copies are plain files on the server’s disk. The app does not encrypt them itself, so encrypt the disk.
Logs#
Logs are written to logs/ in the install folder, one file per day, kept for 14 days. Your own log tools can collect them from there. Include the most recent files when you contact support.
Next#
- Upgrading covers updates, which are one command.
- The admin guide covers members, roles and two-factor authentication, which work the same as on the hosted service.
Something wrong or missing on this page? Email info@bucketdesk.com. Last updated November 12, 2026.