Workspace owners
Getting started
This page takes you from nothing to a working workspace on the hosted service at app.bucketdesk.com. It takes a few minutes if you can create a CloudFormation stack in your AWS account, or can send a link to someone who can. To run BucketDesk on your own servers instead, start with the self-hosted install guide.
What you need#
- A work email address.
- The name of an S3 bucket and the 12-digit ID of the AWS account that owns it.
- Someone who may create an IAM role in that account through CloudFormation. If that is not you, BucketDesk can draft an email with the link for your AWS admin.
1. Create a workspace#
- Open app.bucketdesk.com/register for the free Minimum plan, or start the one-month Ultra trial.
- Enter your full name, work email and a password of at least 12 characters, then choose Create account.
- Open the verification email and confirm your address. The page can resend it.
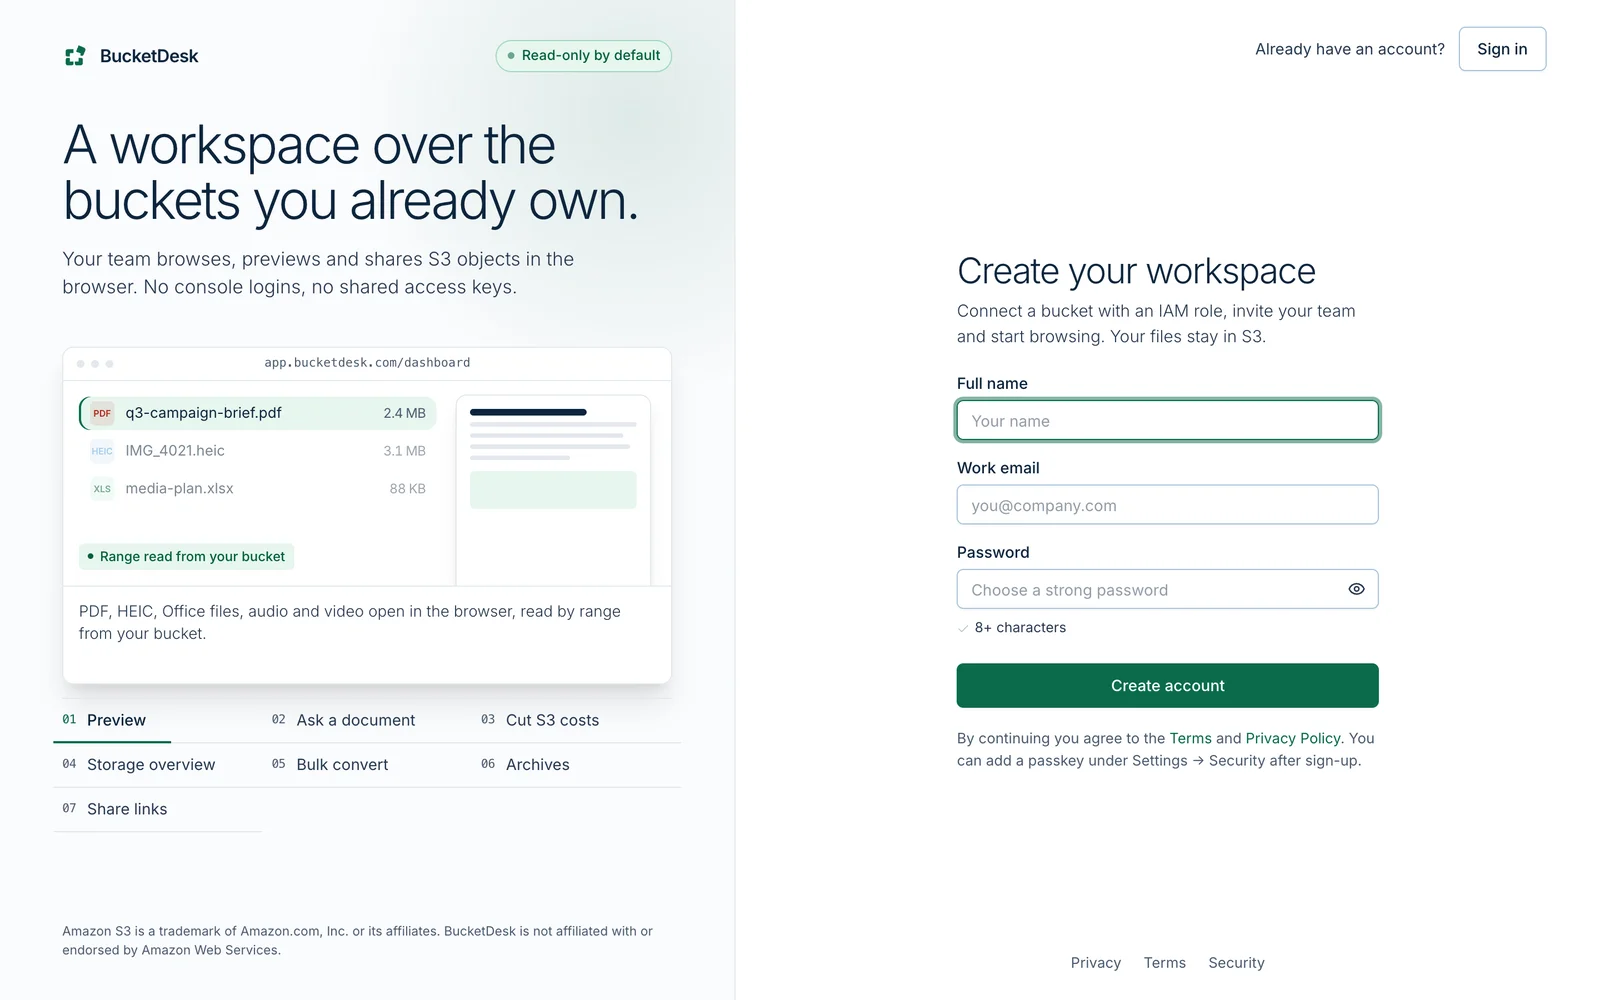
Signing up creates a workspace with you as its owner. You sign in afterwards with your email and password or with a passkey.
| Plan | Price | People | Buckets |
|---|---|---|---|
| Minimum | $0, no card | 1 operator and 1 viewer | 1 |
| Standard | $100 a month or $1,000 a year | 5 operators included, unlimited viewers | Unlimited |
| Ultra | $350 a month or $3,500 a year | 10 operators included, unlimited viewers | Unlimited |
The Ultra trial lasts 30 days and needs no card. Add a card before it ends to keep Ultra; otherwise the workspace moves to Minimum. Pricing lists what each plan includes.
2. Turn on two-factor authentication#
Under Settings → Security, add an authenticator app or a passkey. Owners and admins need one of these to manage connections, members, tokens and tools. A new account has 14 days before this is enforced, so it is easiest to do now.
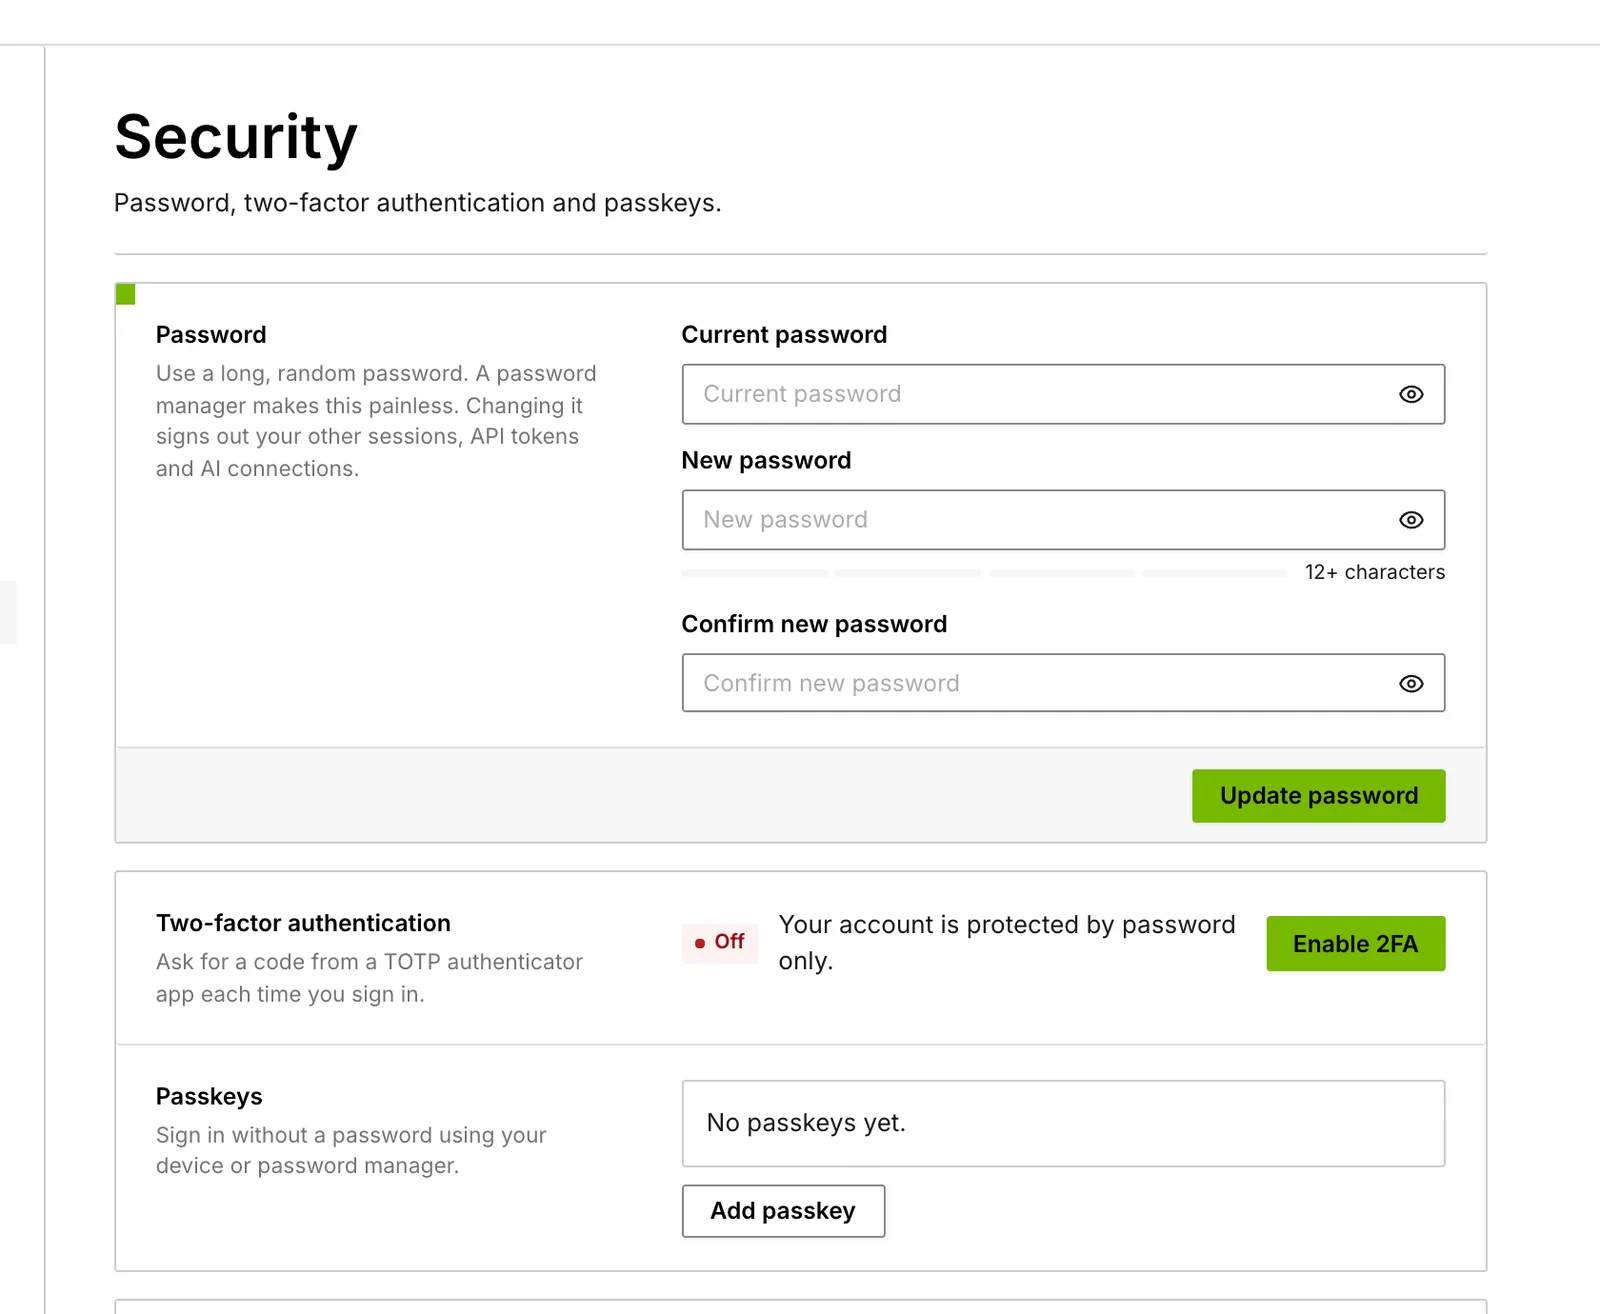
CarefulKeep the recovery codes somewhere safe. They are the way back in if you lose the authenticator.
3. Connect a bucket#
Your first screen offers Connect your first bucket. If someone else manages AWS for you,Send setup to your admin drafts them an email with the link instead.
- Choose Connect your first bucket and enter the bucket name, an optional folder, and the AWS account ID.
- Choose Continue to AWS to review. CloudFormation opens with the stack filled in. Tick the IAM acknowledgement and create the stack.
- Return to BucketDesk. It checks every few seconds and usually connects in under a minute.
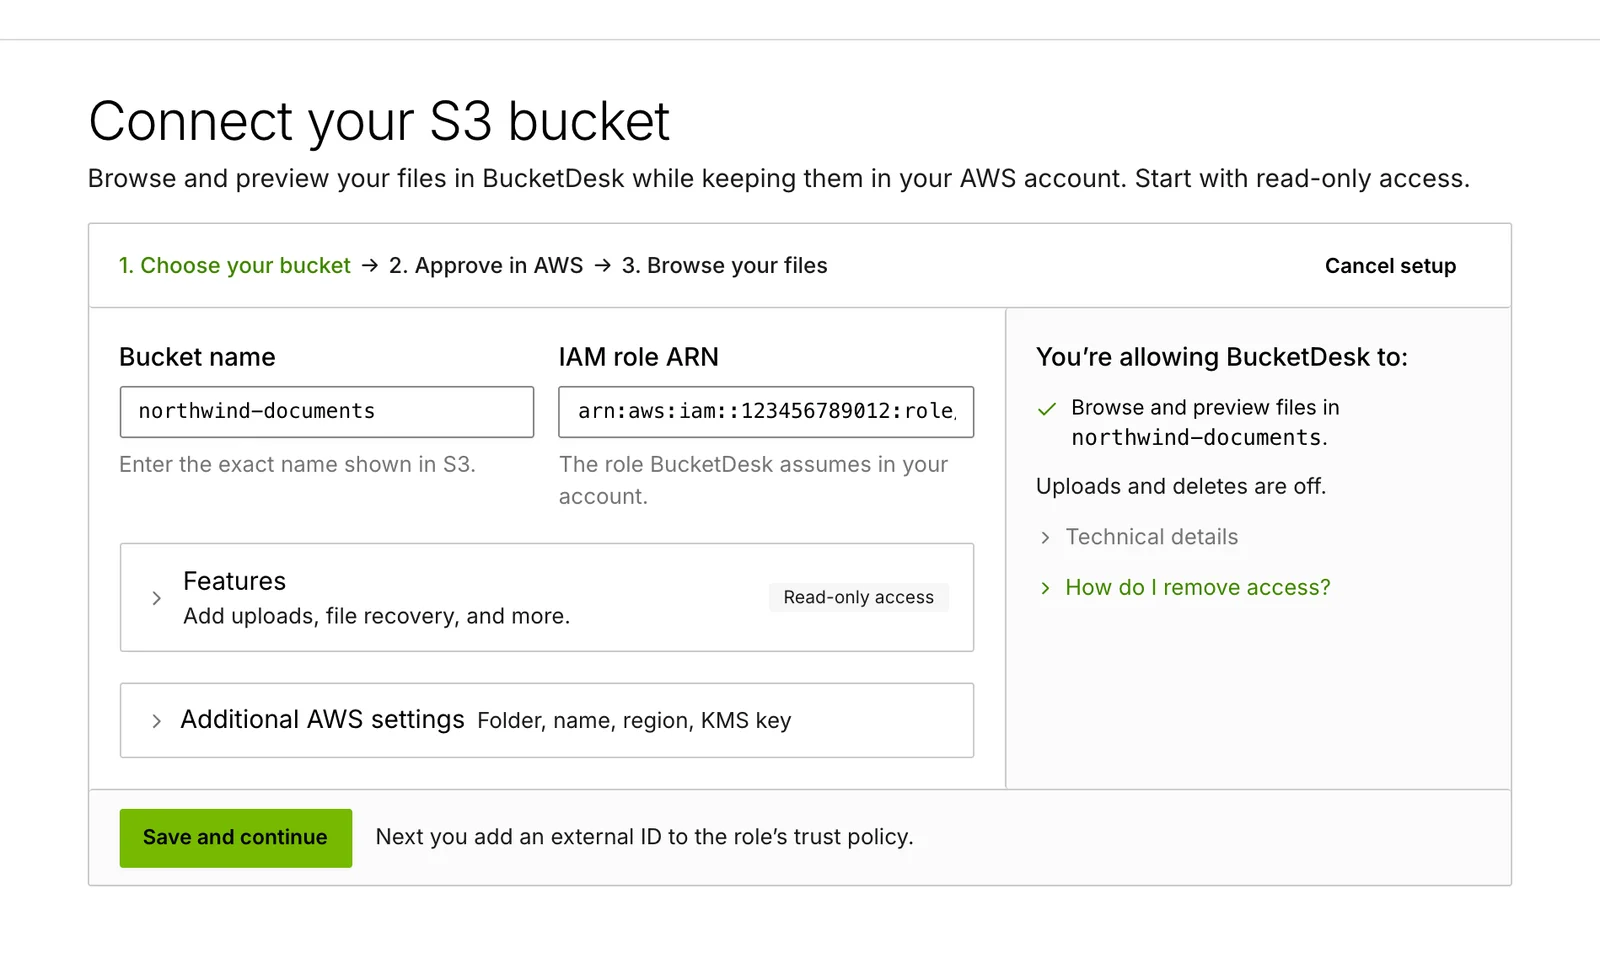
A new connection is read-only. Uploads, deletes and the other write features are switches you turn on when you want them. Connect your AWS account covers every option and the errors you might see.
4. Invite your team#
- Open Settings → Members and choose Invite a colleague.
- Enter their email address and pick a role.
- They accept from the emailed link, which lasts seven days, using that same address.
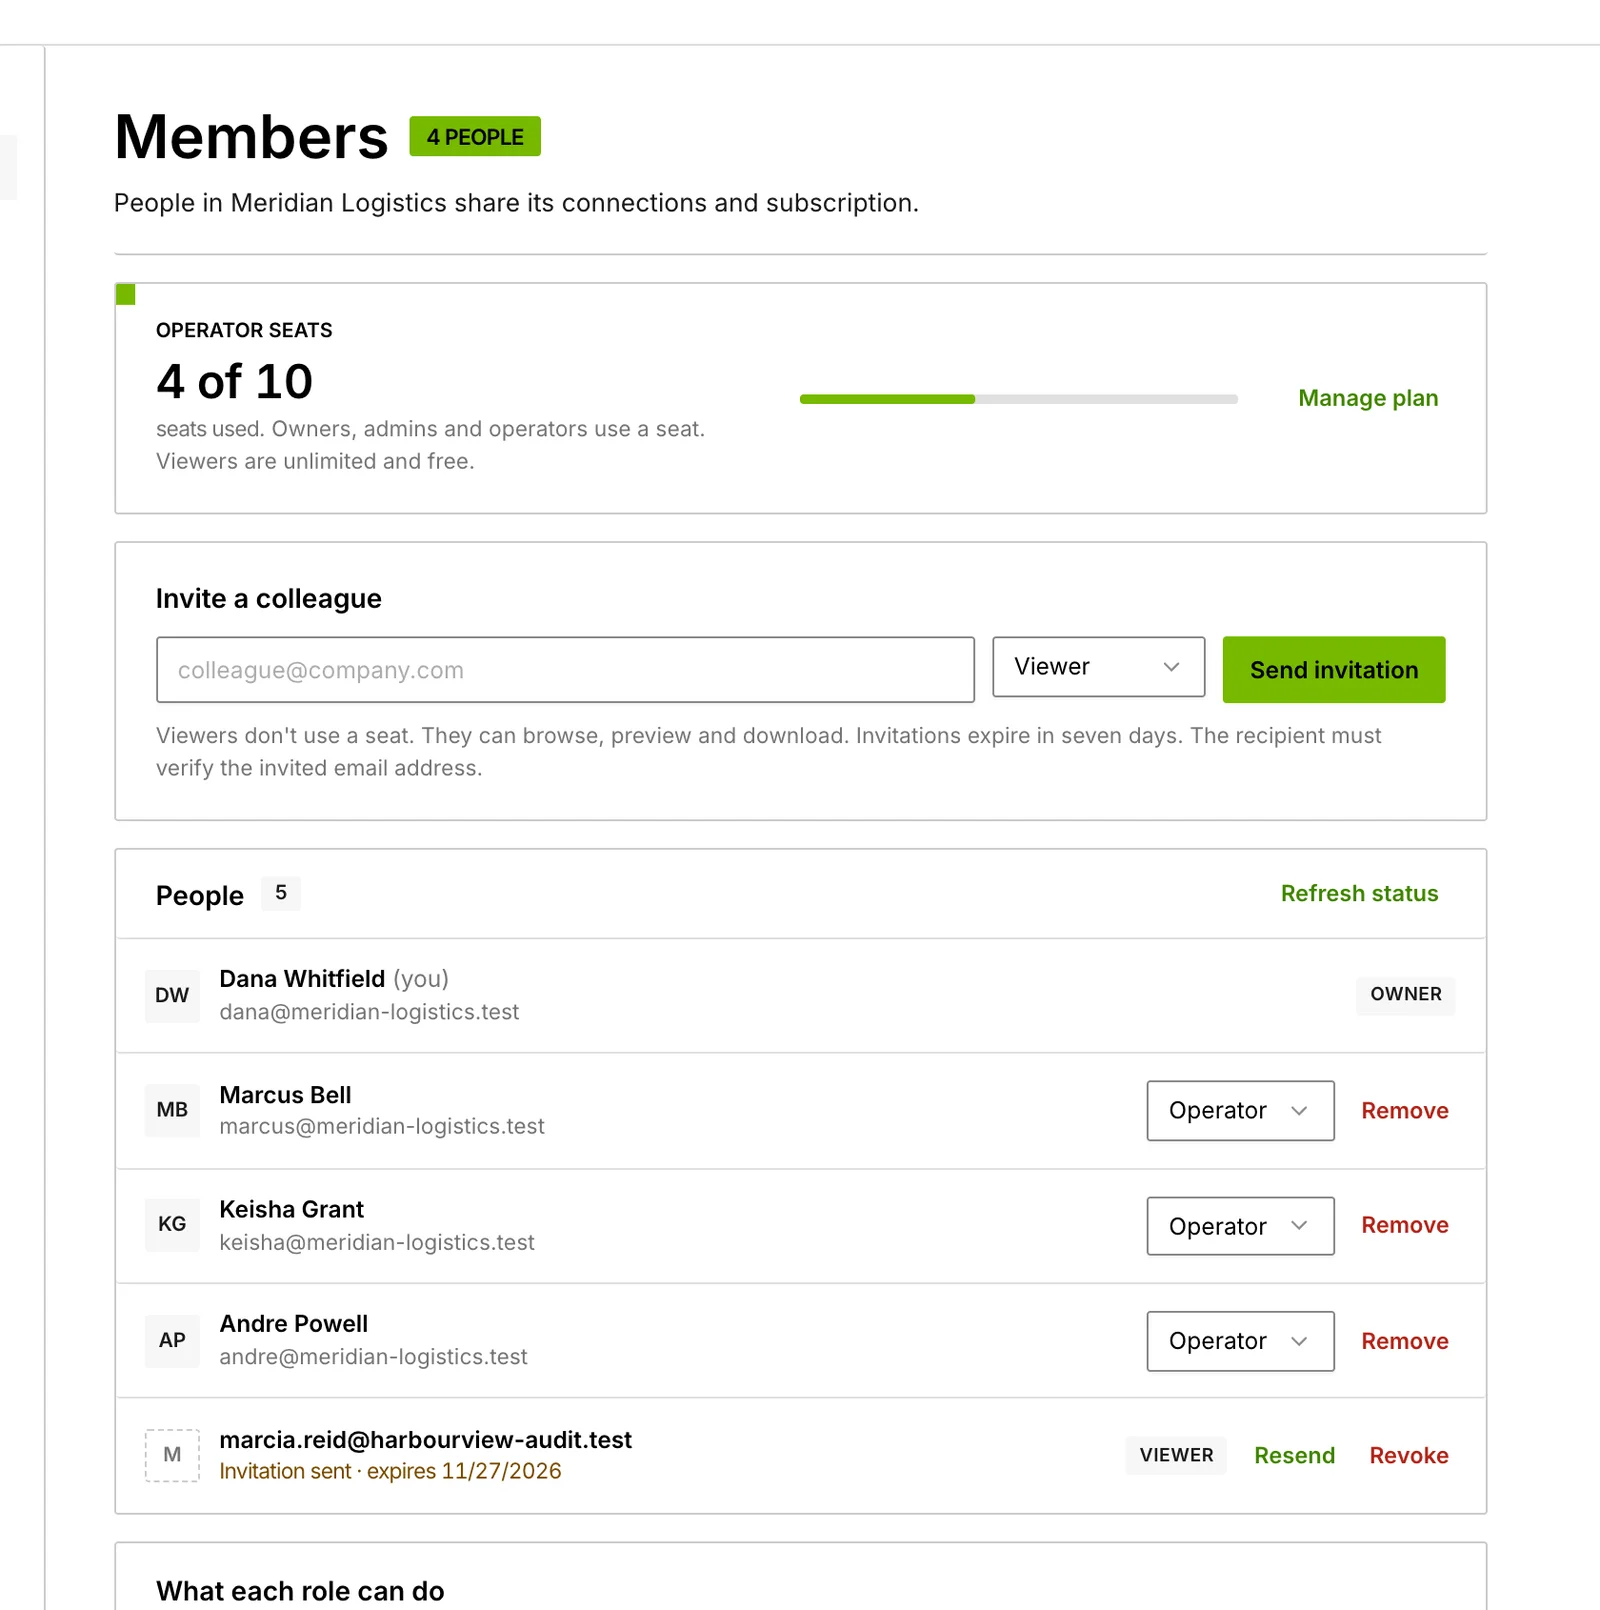
| Role | For |
|---|---|
| Viewer | People who only look at files. Viewers are free. |
| Operator | People who upload, share, edit, delete or restore. Uses a seat. |
| Admin | Operators who also manage connections and invite people. Uses a seat. |
Every member sees every connection in the workspace. To keep a team to one part of a bucket, connect that folder rather than the whole bucket. The admin guide has the full role table.
Next steps#
- Send your team the user guide.
- Run the free S3 Savings assessment from the Tools page to see what the account pays for S3. How S3 Savings works.
- Give your security reviewer the security overview.
Something wrong or missing on this page? Email info@bucketdesk.com. Last updated November 12, 2026.